The Idea
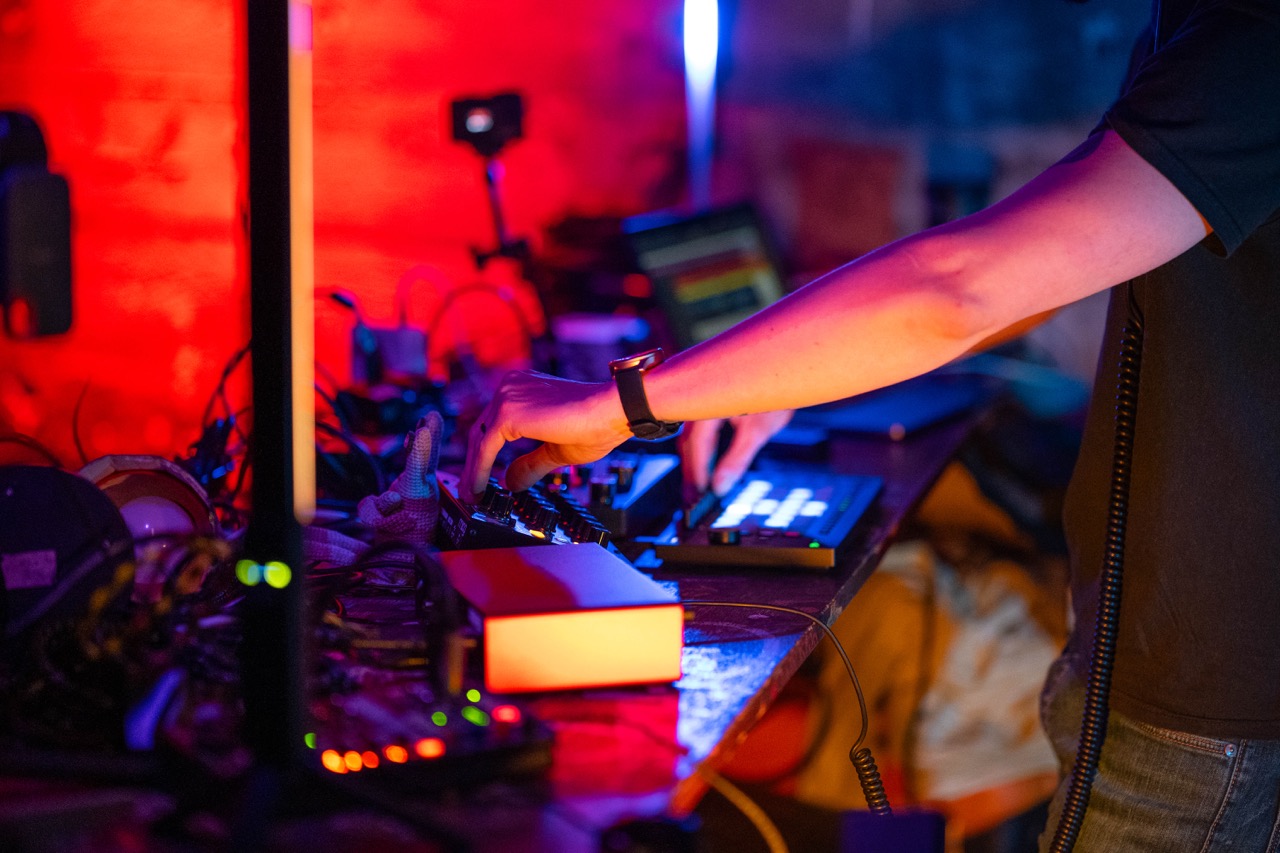
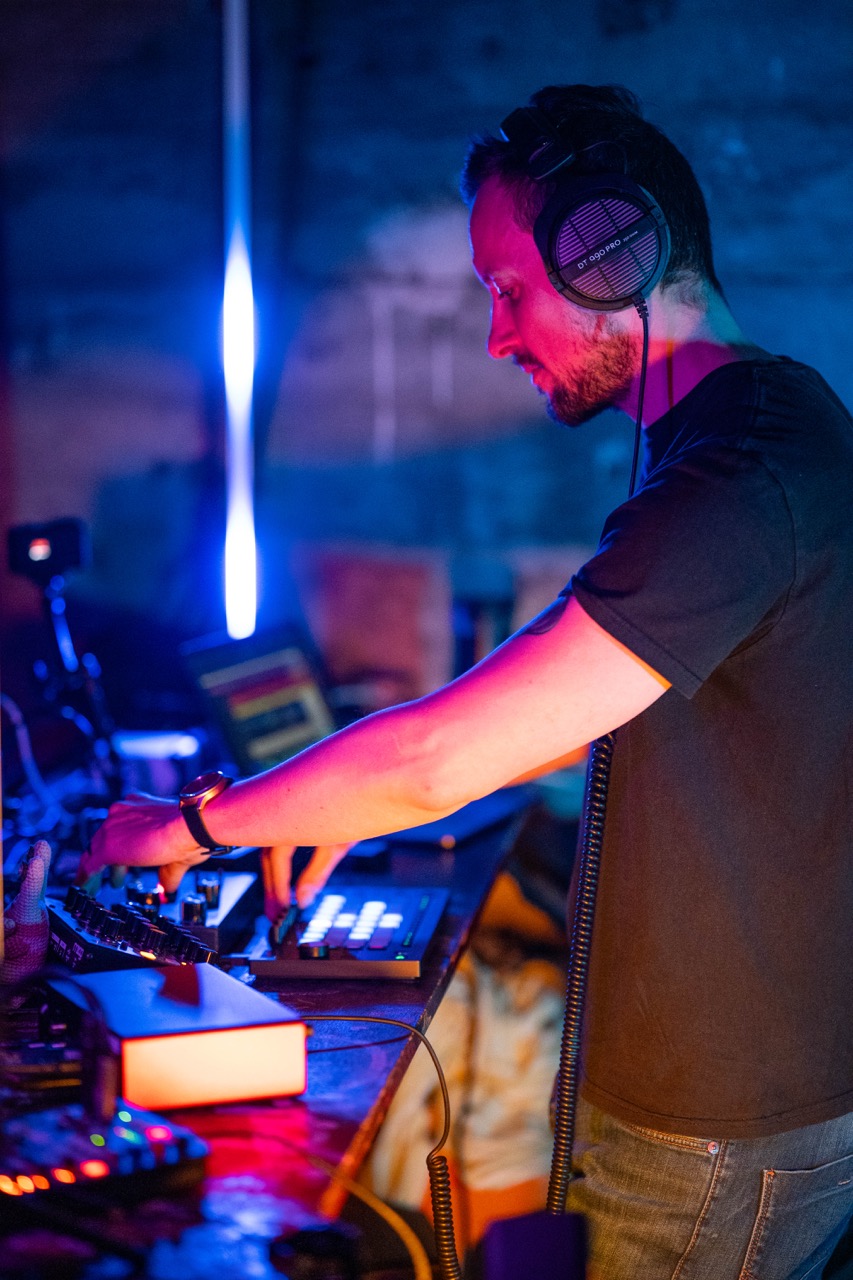
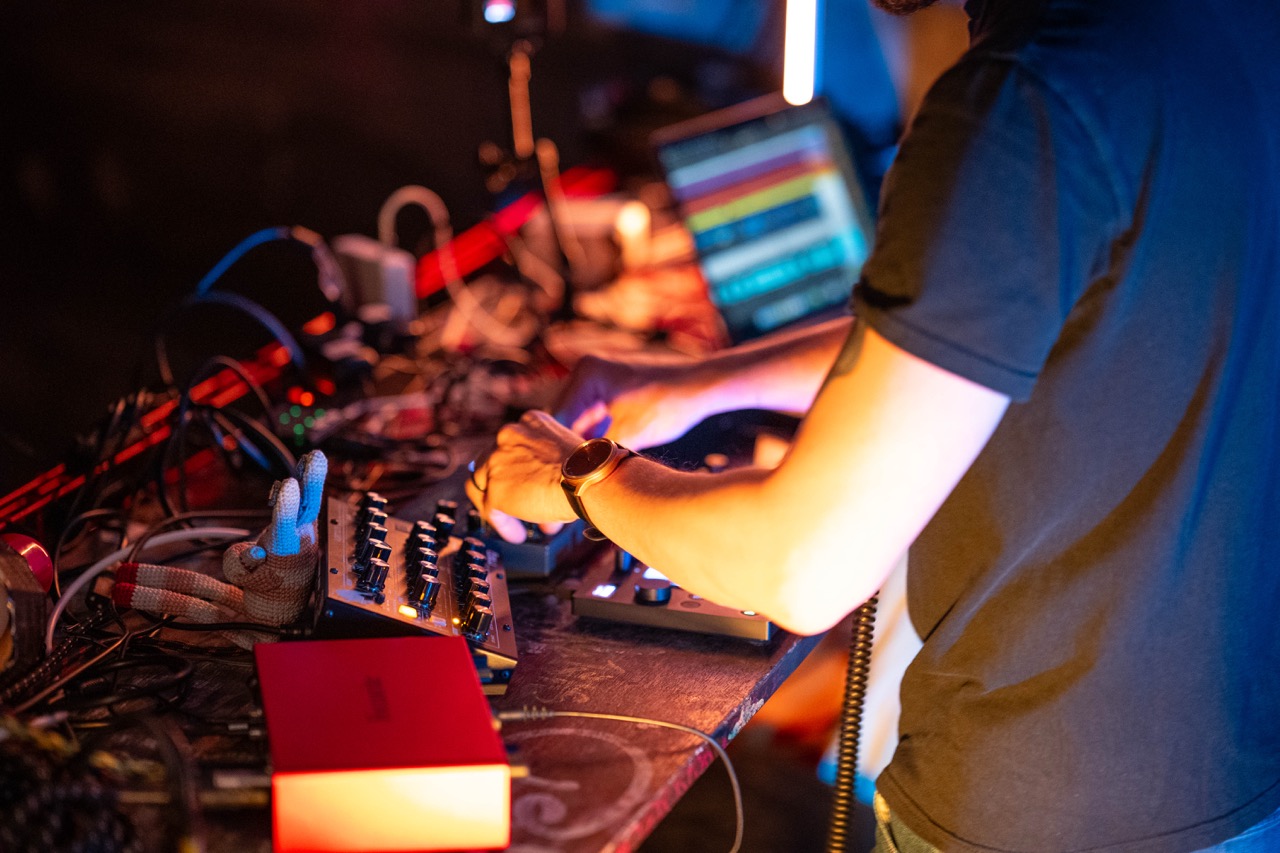
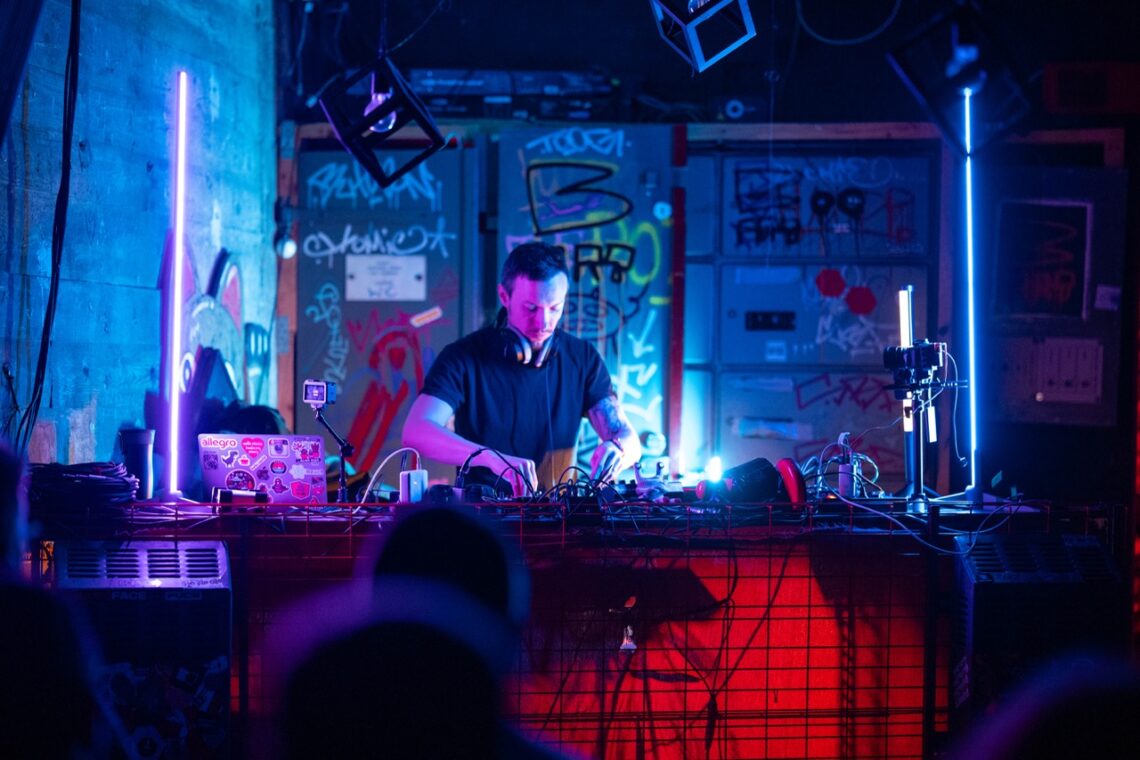
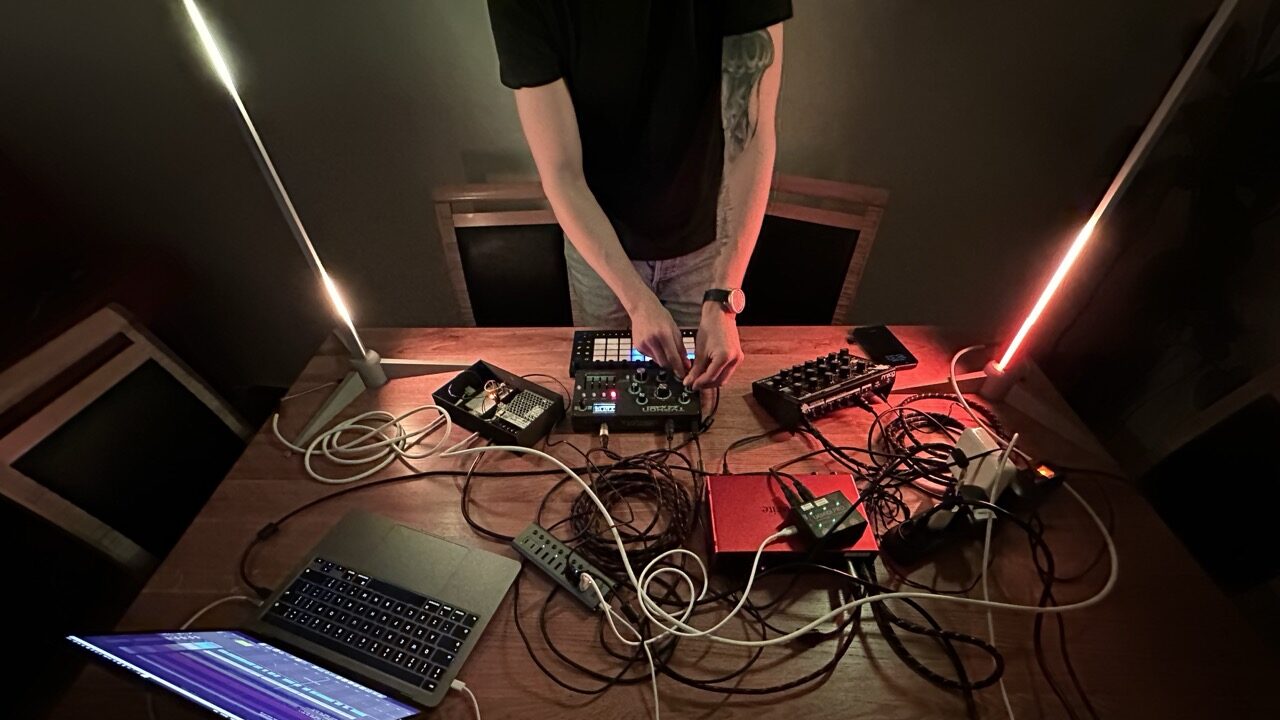
I had a solo act planned at Schron in Poznan as part of Poznańskie Spotkania Syntetyczne — a local synthesizer and electronic music community meetup. Beyond the musical setup, I wanted to create a visual layer: lighting synchronized with the music in real time.
The idea was simple — build a system that reacts directly to MIDI signals I send from my gear. Every note, every drum hit, every preset change would trigger a corresponding visual response.
The hardware
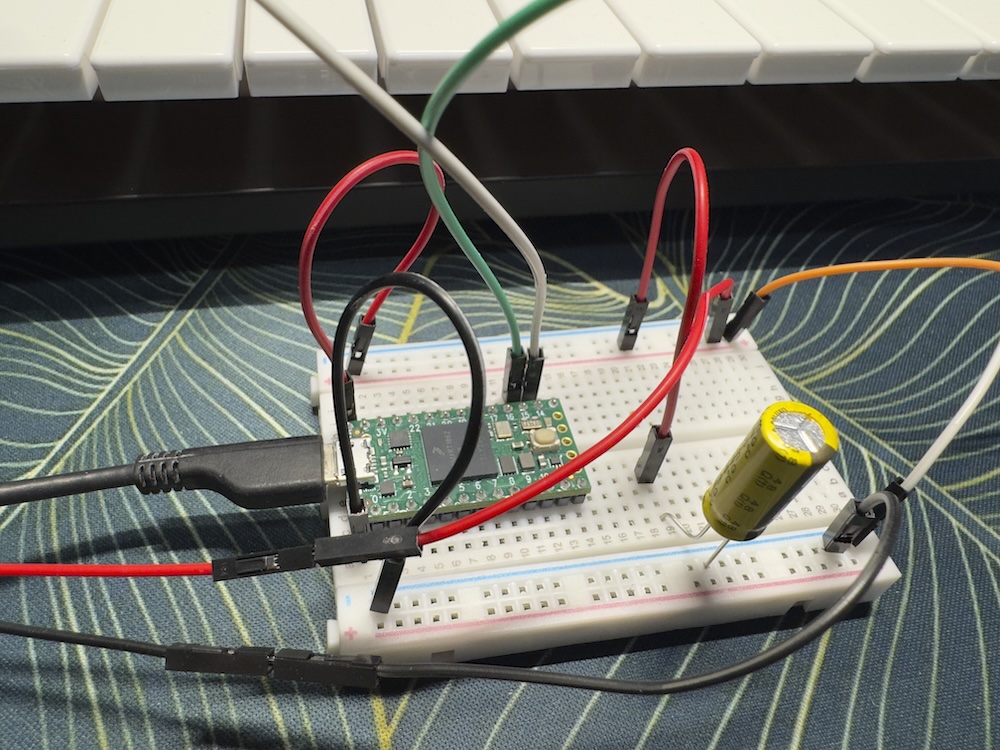
I did some research to find the best hardware for this kind of application. The clear winner was the Teensy 4.0 microcontroller. It runs on an ARM Cortex-M7 at 600 MHz, has plenty of digital and analog I/O pins, and — crucially — can present itself to a computer over USB as a native MIDI device. No drivers, no configuration, plug and play.

For the LEDs I chose WS2812B strips — individually addressable RGB LEDs that allow smooth color transitions, gradient effects, and complex animations per-diode. Each strip is 1 meter long with 60 LEDs/m, giving 60 individually controllable pixels per column.
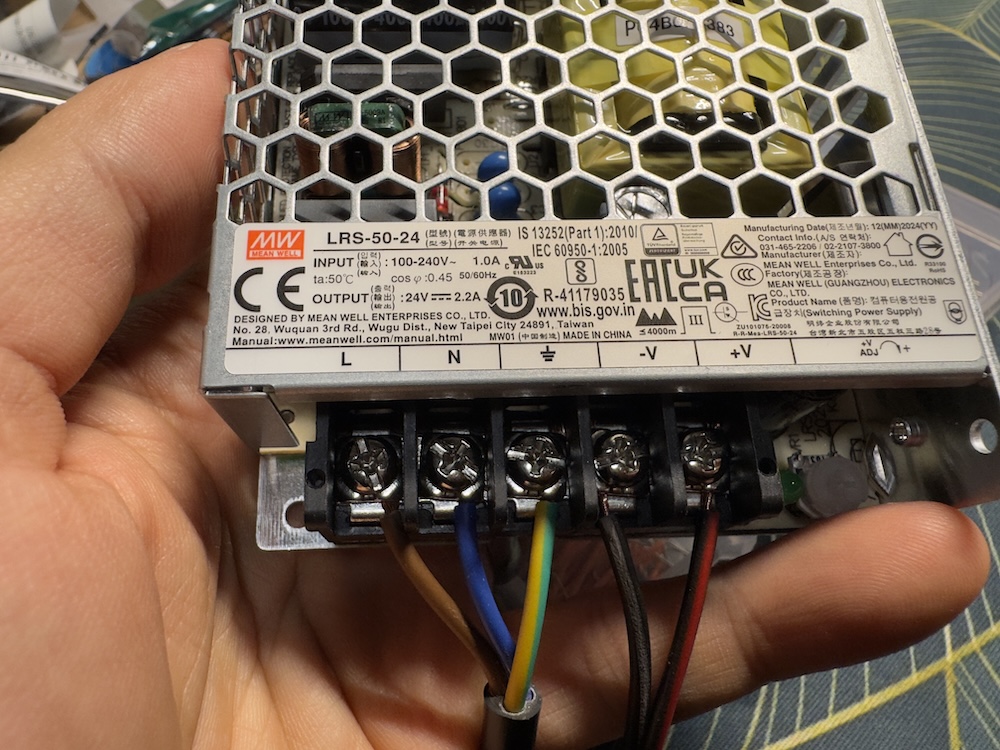
The whole setup is powered by a dedicated 5V 50W power supply to properly handle the current demands of two full LED strips running at high brightness.
The software
The firmware listens for MIDI messages on two channels — one per LED column (left and right). Two types of MIDI messages are handled:
- MIDI Notes — each note number maps to a specific LED action: lighting a single diode, a group, triggering an animation, etc. Note velocity is also used, for example to control brightness.
- MIDI Program Change — switches between presets, so the same note numbers produce different visual effects depending on context. This lets me assign one preset to melodic tracks and another to drums, with different color palettes and behaviors.
Defined programs include different mappings like:
- note-to-LED mapping with a pink/teal gradient across 5 octaves
- same structure with a multi-color gradient palette
- drum-oriented mapping: kick, snare, hi-hat and crash each trigger distinct colors (orange, pink, teal, multi)
The application is written in C++ using the Teensy ecosystem, the Arduino framework, and the FastLED library for LED control.
The main loop is straightforward — it continuously polls for incoming USB MIDI messages anad dispatches them:
void loop() {
    while (usbMIDI.read()) {
        byte type    = usbMIDI.getType();
        byte channel = usbMIDI.getChannel();
        byte data1   = usbMIDI.getData1();
        byte data2   = usbMIDI.getData2();
        switch (type) {
            case 0x80: return handleNoteOff(channel, data1);
            case 0x90: return handleNoteOn(channel, data1, data2);
            case 0xC0: return handleProgramChange(channel, data1);
            default:   return handleNotSupported(channel, data1, data2);
        }
    }
}
Non-blocking animations run on every iteration of the loop, so LED effects like spreads and fades continue smoothly even between MIDI events.
The full source code is available on GitHub: straburzynski/led-midi
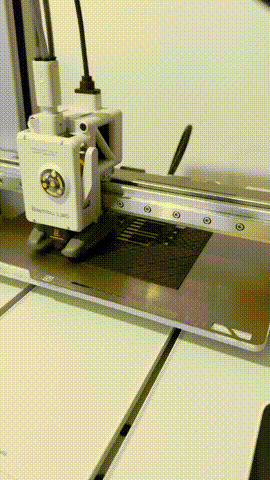
Build & enclosure
The prototype was assembled on a breadboard first to validate the wiring and firmware. Once everything worked, I designed a compact enclosure and two LED column stands, both printed on a Bambu Lab A1 3D printer. The enclosure houses the Teensy board and the PSU connections, keeping everything tidy for a live performance setup.
The final effect
The result exceeded expectations. Two one-meter LED columns with 60 LEDs/m produce intense, bright output. The lighting reacts in real time to every MIDI event — individual notes light up specific diodes, drum hits flash entire sections in color, and program changes shift the whole palette mid-performance. The pulsing, reactive light layer added a dimension to the live set.